Showing posts with label diy. Show all posts

Sunday, April 3, 2016

It's been 2 years?

I can hardly believe it has been 2 years since I made a post. Where has the time gone? I have moved twice, started a new job, went to Disneyland, and that's about it. 

I have done some crafting over the 2 years. Only a little thrifting. A lot of working my regular job. 

I've had a creative block. I just spend so much time working 2 jobs, being a mom, and working through (another) breakup. I just haven't had time.

I do have a few small projects to share. It's the small things in life. 

I started with this lovely 4 pack of coasters from Dollar Tree.

With some Goo Gone and hot water you can get that cork park out of there...

Add a little comic books, or rub on stickers, and a light coat of resin and I'm left with these beauties.


Yea... they are on plastic bags so they can dry. 


Next up also includes hacked up comics... but this time I added canvas, mod podge, and wood letters. 

I gave these to someone as a gift. It was hard though.  I wanted to keep them so bad!


The last one for now is a quick thrift store DIY.


I grabbed this silver tray at Savers for $.99. I think most of their housewares are overpriced so I don't get much there. 


I slopped on a few coats of paint, some rub on silver, and boom all pretty. 


This will likely come with me in June to go visit AR and see my BFF.

Sunday, February 23, 2014

Thrift Store Jewelry Box

I did this project months ago but I had to wait to post it because it was a gift! The birthday gift for my bestie Ciara. So I had to wait to post until after I have it to her!


It all started with this thrift store jewelry box It was $3. The glass was broken out and the velvet had some staining. It seemed like someone spilled oil of some sort in there!

Step one was to paint it! I love this paint! I painted all of it! Including the pink velvet inside!

Next I taped the sides and added sripes on the top  of the box. 

Next I started adding glitter! A coat of Mod Podge and some beautiful glitter! It took about 4 coats but I would have been fine with 3!

I cut part of a pizza box to fit where the glass was supposed to be and with some Mod Podge and scrapbook paper went to work!

I was left with this beauty! 

She LOVED this box! It has gold, glitter, and sheet music! What's not to love!


Sunday, February 16, 2014

A quick Nail Polish Rack!

I've gone missing again! :( Life keeps me pretty busy and sometimes thinking about a blog post stresses me out! Plus I didn't thrift for abut 3 months! I just couldn't afford it! So reacently I had some extra money and skipped to Goodwill! 

OK I went to get baby girl clothes for a friend who was having her baby shower. Yes, she knew I was buying them used! I wish I would have taken a picture though. because I got the CUTEST baby clothes ever!

While wondering around plenty of things made it into my cart! Hey don't judge me it was 50% off day!

One of them was this sweet little spice rack! It was $2! You could tell it was handmade and then painted this ivory color. The paint was dripping! There were big scratches all over it.  This spice shef had seen better days! 

As soon as I saw it I knew I could use it for nail polish until I make my big one! This one will work for a few of them! 

I washed it and scrubbed it with a sponge and dish soap. After I let it dry I went outside and gave it 2 quick coats of spray paint! That's right no primer... no sanding. 

Here it is! It's pink of course! It held 25 bottles of polish! I was surprised! I do love it!  I used it for pinks and clears! Can't wait to build my big stand!

Well that's all for now. I must go meet a friend for lunch! 

I'll be back soon!

Tuesday, August 20, 2013

Ugly Frame to beautiful tray!

Welcome to Tutorial Tuesday. OK so there's no tutorial. Sorry. I forget to take during pics often!

 I found these beauties at my Goodwill! The frame was $2.99 and the glass bird was $1.99 so $5 got the both. 

I could see the pretty from these. Can't you already see it?


I could have picked up some of these instead. Seriously though... they are creepy! 


I slapped on a coat of spray primer. Then some bright spray paint. I even had scrapbook paper and a sticker added in the mix!

Beautiful right?! One mans trash really I another (wo)mans come up!

I can't wait to get these into my new room!

Friday, August 16, 2013

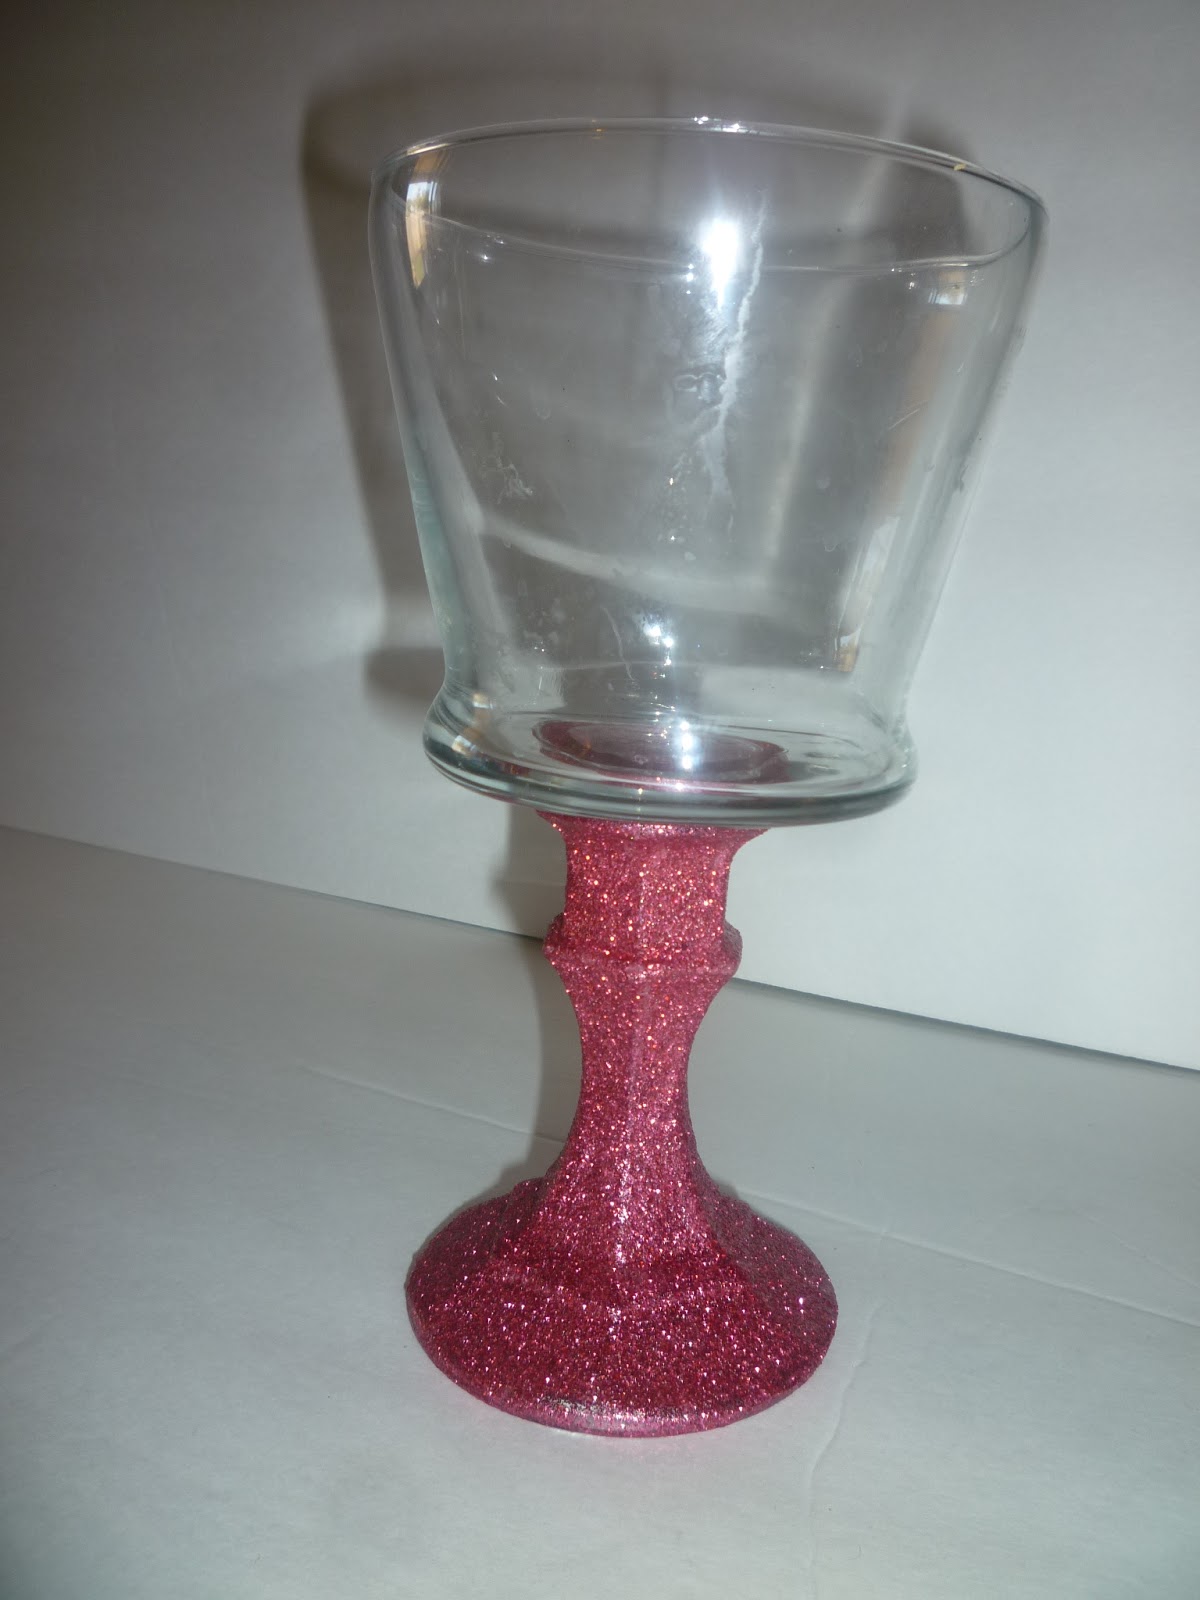
DIY Dollar Store Apothecary jar take 2!

My first apothecary jar was so amazing I made another one. 

This was cheap and easy and I love it even more than the other ones!

Supplies:

Candle Stick ($1.00 from Dollar Tree)
Glass Jar ($1.00 from Dollar Tree)
Mod Podge (On hand or $5)
Foam Brush (On hand or $.10)
E6000 (On hand or $4.00)
Glitter (On hand or $3.00)
Total Cost: $2.00

Now I'm sorry I didn't take picture during the process but I get messy and did not want to ruin m camera.

1. Paint the candle stick with Mod Podge in sections and dump on glitter
2. Let dry about 20 minutes and do the same thing again
3. You might do this 2 or 3 times.
4. Let dry another 20 minutes.
5. Paint over the glitter at least 2 coats of Mod Podge to seal it all in
6. Let dry over night
7. Apply E6000 to the top of the candle stick (which is not covered in glitter)
8. Apply that to your jar.
9. Place something heavy in the jar to keep it still 
10. I used marbles
 
It's amazing right! I'm using it for bobby pins. I have lots of those. When I do see them at the dollar store I buy a pack. I go through them like crazy. 

It's my favorite!
 

Wednesday, August 14, 2013

Thrift store score plus a refinished project!

I have a problem. Really I can't stop thrifting.  Shopping make me happy. I m an emotional shopper. Thrifting allows me to shop away my feelings and it's cheaper than going to the mall!

I found this cute cars lap desk. It was $1.50 my son is obsessed with Lightning Mcqueen. Good score I think!

I scored him 6 awesome shirts in size 5. $1.00 each! 

Thrifting is the best for kids clothes. I'm telling you. They grow like weeds and even at Wal-Mart a shirt is $3.00 each! I got 6 shirts for the price of 2!


Then I found this. I was SOOO excited. Since I am moving out of my house into a small apartment with a roommate I need a place to put mail. I had been searching for something and this is amazing. It opens up and holds keys! It was $3.00. 


A quick coat of red spray paint and stickers from Hobby Lobby. A for Ashleigh and N for Nick. This will help me for sure. I tend to just put things down. So having an exact spot to put mail and keys ensures they will not get lost!


Sunday, August 11, 2013

DIY Advent Calender Tutorial

How to make  cute Advent Calender for Chrismas (and more)


Supplies:
Make it Christmas Paper Mache Advent Calender from Hobby Lobby It's priced at $15.99 I used a 40% off coupon and got it for $10
Winter Christmas paper pack $8.99 purchased half off $4.50
Mod Podge on hand
Red Paint on hand
2 foam brushes on hand


First I painted all the edges with the red paint. 
Next I made my template. I just traced the box on the paper.

After I cut them out I started Mod Podging them on! I don't have detailed pictures because I'm a messy crafter. In this process I also started putting the scrap paper on the large box as well.
 I laid them out to dry a little bit. Then I painted over them with the Mod Podge again. I did about 3 good coats to make sure everything was on there!


Cute right?! I love it. 

In fact I love it so much...

I had another one...

This one will hold my earrings! :) 

I can't wait to get my room set up!


So once a week I'll be posting different Advent Calender gift ideas for him and her. All cost $100 or less!


Saturday, August 3, 2013

DIY For Him Comic Book Box!

Finally a tutorial! I know I know it took long enough right? Unfortunately I can't get better pictures because it was a gift for the ex. He took it with him when he moved out. It's OK, I'm not sad. I ended things. 
 
I'm currently posting from outside at my yard sale. Not doing too bad out here but it's Phoenix and August so it's HOT outside! 
 
 
Supplies:
Wooden Box (Hobby Lobby $2.50)
Mod Podge (on hand but you can get it for $5.00)
Comic Book ($.50 at Bookmans)
Foam Brush ( on hand but $.10)
Sissors
Bowl
File (just in case)
 
 
Step one: Cut up your comic book. I did squares/rectangles in different sizes and put them in my bowl! I used a Captain America book. It took abut 4 pages to cover the box.

Step two: Paint the back of the squres in Mod Podge. Start placing them on your box!

Cover the box! Make it fun.
Step 4: After the box is is covered in your pages cover it in Mod Podge. Do at least 2 coats over the top. This keeps it shiney and keeps anything from popping up! 


DONE! Awesome right?!  He loved it! 


My total out of pocket was $3.00 I had the Mod Podge and all that on hand!

Sunday, March 10, 2013

Giant Cardboard Letter

Well despite my not feeling so great I did complete another item for Make It March!

I did a GIANT letter K for my son's room. 

I used:
Giant K from Joann Fabrics
3 Pieces of Dr Suess Scrapbook Paper
Some Carft Paint
Ric Rac
and Mod Podge
 
 Please excuse the not great picture. My son hid my camera from me.

I painted the sides red Then carefully traced the letter around the paper. I Mod Podged it on in 3 pieces. Then covered the top with 2 nice coats. Then I added some red Ric Rac to the sides. I used white ric rac to make the hanging.

Here is a close up. He loves to read Cat In The Hat and he thinks The Lorax is AMAZING.  I promise there will be better pictures when his room is done. 
 
That is project 6. Here is the updated list. 

  1. Black sequin skirt*
  2. PJ pants Anthony
  3. PJ pants Kayden
  4. PJ pants Yanna
  5. PJ pants Sysy
  6. PJ pants Grace
  7. PJ pants Avery
  8. PJ pants Wiggy
  9. Vintage sheet skirt
  10. Small bookshelf
  11. Green lamps
  12. VHS holder
  13. Chalk board frame
  14. Girls velvet skirt
  15. Batman backpack *
  16. Spiderman backpack *
  17. Mickey backpack *
  18.  Hearts Backpack *
  19.  Stars Backpack *
  20. Glittered candlestick *
  21.  Painted candlestick
  22. Laundry bag 1*
  23.  Laundry bag 2*
  24.  Car bag
  25.  Curtains for Kayden room
  26.  Good boy hanging *
  27. Cute quote hangings
  28.  Recycled Toy Bag *
  29.  Wicker Shelf
  30.  Easel
  31.  Jewelry Box 1
  32. Jewelry Box 2
  33.  Baseball Wreath
  34.  Dress Tube Top
  35.  Star Glass Jar *
  36.  Key Stash *
  37.  Liquid Soap
  38.  Soap Dispenser
  39.  Jewelry Holder *
  40.  Giant K
  41. Refinish Tall Dresser
  42.  Plates
  43.  Music Notes
  44.  Comic Box *
  45.  Sleeping Bag 1 *
  46. Sleeping Bag 2 *
  47. Sleeping Bag 3*
  48. Sleeping Bag 4*
  49. Sleeping Bag 5*
  50. Sleeping Bag 6*
  51. Paint Connor’s bookshelf
  52. Chandelier
  53.  Spice Rack
  54.  Chore Frame
  55. Little Serving Tray
  56. Rocking Chair
  57. Paint Shell Chandelier
  58. Leopard Jean Jacket 
  59. Swiffer Pad

Friday, March 8, 2013

Finally my new charger is here!

I haven't been able to post the last few days! :( My laptop charger broke! Horrible, I know!

What else is going on? Well let me tell you! I bought this hand sander. It's purple. I knew it would help me with all the sanding I have to do. I lost it! It's just totally missing! I looked all over! I ransacked my sewing room and had no luck! I am sad. :( I  really want it back!

So I did get a few projects finished for Make It March.

Here is the before picture of one of those old VHS holders. I got it at Goodwill for $3.00 and knew my son needed it!

There is is in his room! I used left over paint from his dresser and then added a clear coat because it's plastic not wood. Super cute right!? He adores it.

He even puts his movies away now! 

This is the before of a lamp. It was $1.00 at Goodwill on $1 day! That's right I "tape" stuff off with a grocery bag and packing tape!

I spray painted it with leftover green from the dresser! I also added a nice clear coat to make is super glossy!

I finished these 2 wood music notes too! They were $3.99 at Hobby Lobby and will get hung in my kitchen!

I am pretty happy with them! I can't wait to get them hung up! 

So there are 3 crafts for the 3 days I could not post!

That is now 5 projects for my Make It March!

Here is the new list!

  1. Black sequin skirt*
  2. PJ pants Anthony
  3. PJ pants Kayden
  4. PJ pants Yanna
  5. PJ pants Sysy
  6. PJ pants Grace
  7. PJ pants Avery
  8. PJ pants Wiggy
  9. Vintage sheet skirt
  10. Small bookshelf
  11. Green lamps
  12. VHS holder
  13. Chalk board frame
  14. Girls velvet skirt
  15. Batman backpack *
  16. Spiderman backpack *
  17. Mickey backpack *
  18.  Hearts Backpack *
  19.  Stars Backpack *
  20. Glittered candlestick *
  21.  Painted candlestick
  22. Laundry bag 1*
  23.  Laundry bag 2*
  24.  Car bag
  25.  Curtains for Kayden room
  26.  Good boy hanging *
  27. Cute quote hangings
  28.  Recycled Toy Bag *
  29.  Wicker Shelf
  30.  Easel
  31.  Jewelry Box 1
  32. Jewelry Box 2
  33.  Baseball Wreath
  34.  Dress Tube Top
  35.  Star Glass Jar *
  36.  Key Stash *
  37.  Liquid Soap
  38.  Soap Dispenser
  39.  Jewelry Holder *
  40.  Giant K
  41. Refinish Tall Dresser
  42.  Plates
  43.  Music Notes
  44.  Comic Box *
  45.  Sleeping Bag 1 *
  46. Sleeping Bag 2 *
  47. Sleeping Bag 3*
  48. Sleeping Bag 4*
  49. Sleeping Bag 5*
  50. Sleeping Bag 6*
  51. Paint Connor’s bookshelf
  52. Chandelier
  53.  Spice Rack
  54.  Chore Frame
  55. Little Serving Tray
  56. Rocking Chair
  57. Paint Shell Chandelier
  58. Leopard Jean Jacket 
  59. Swiffer Pad